One-Pan Marshmallow Stuffed Cookies (Fun Family Treats)
Soft, gooey marshmallow stuffed cookies baked all at once on a single sheet pan. Minimal cleanup, maximum fun for family gatherings and celebrations!
cookwithlucia.com/recipes/peep-stuffed-easter-cookies-fun-holiday-treats
Let's be honest: nobody actually enjoys doing dishes. That mountain of bowls, spatulas, and baking sheets staring at you after making a batch of cookies? It's enough to make you reconsider baking altogether. But what if I told you that you could create the most delightful, colorful, marshmallow-stuffed cookies without turning your kitchen into a disaster zone?
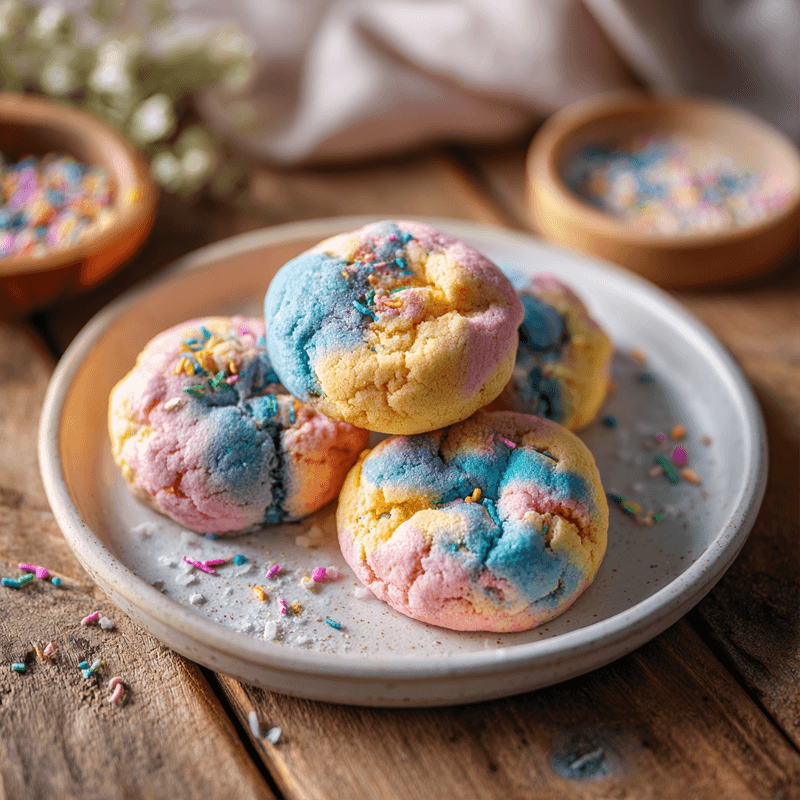
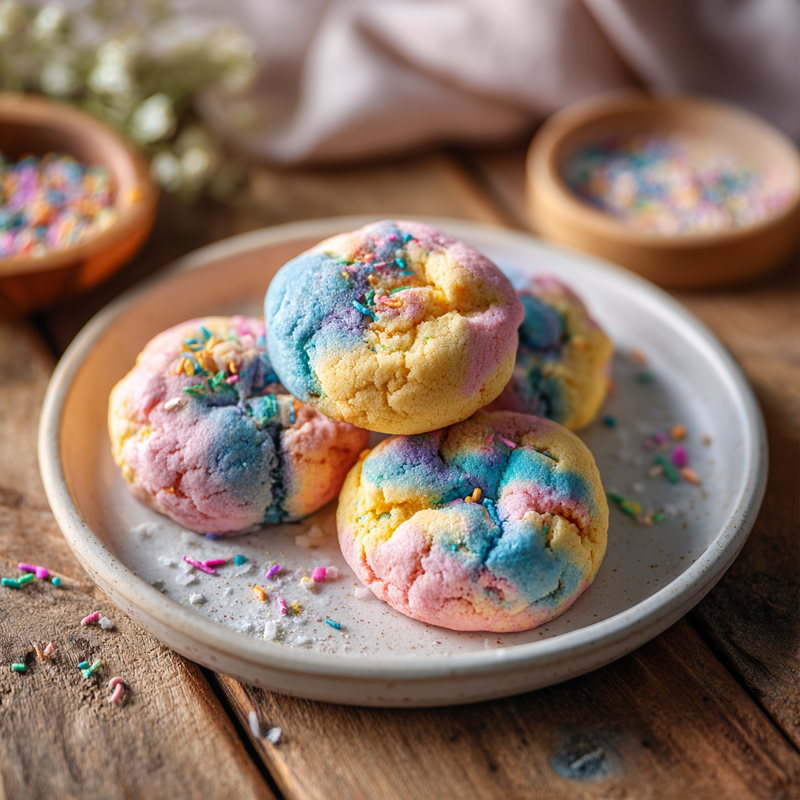
These marshmallow stuffed cookies are the answer to every baker's dream. Picture this: golden-edged cookies with soft, pillowy centers concealing pockets of melted marshmallow sweetness, all baked together on one glorious sheet pan. The colors are vibrant and cheerful, the texture is absolutely divine, and cleanup takes about three minutes. These cookies look like you spent hours fussing over intricate details, but the reality is so much simpler. Everything comes together in one bowl, gets portioned onto one pan, and bakes into cookie perfection while you put your feet up. This is the kind of baking that makes you feel like a genius while simultaneously being the laziest version of yourself, and I'm absolutely here for it.
The One-Pan Philosophy
When you bake an entire batch of cookies on a single sheet pan, something magical happens beyond just avoiding extra dishes. The heat distribution becomes uniform across all your cookies, which means they bake evenly together, developing that perfect golden edge at exactly the same moment. You're not frantically rotating multiple pans or trying to remember which batch went in first.
The true art of one-pan cookie baking lies in understanding your oven's hot spots and arranging your dough portions accordingly. Most ovens run slightly hotter in the back, so I space cookies a bit further apart there to compensate. This method forces you to become intimate with how your oven behaves, making you a better baker in the process.
But here's the real secret: baking everything together creates consistency. Every single cookie experiences the same temperature curve, the same steam environment, the same baking time. You end up with a batch where each cookie is the twin of the next, no surprise underbaked centers or overly crispy edges. It's both the most efficient method and the smartest approach to cookie perfection. Why would anyone do it any other way?
What Goes In
The foundation of these marshmallow stuffed cookies starts with butter, and I always use it at room temperature so it creams beautifully with the sugar. You want that light, fluffy texture that only comes from properly beaten butter and sugar, it creates the tender crumb that makes these cookies irresistible. Granulated sugar provides structure while a touch of brown sugar adds moisture and that subtle caramel note.
Eggs bind everything together and add richness. I use large eggs at room temperature because cold eggs can cause the butter to seize up and create a grainy texture. Vanilla extract is non-negotiable, it amplifies all the other flavors and adds that classic cookie aroma that fills your kitchen.
All-purpose flour creates the structure, and I'm specific about not overmixing once it's added because we want tender cookies, not tough ones. Baking powder gives us lift and that slightly domed top that looks so appealing. A pinch of salt balances the sweetness and makes all the flavors pop.
The marshmallows are obviously the star here. I use large marshmallows cut into smaller pieces, which creates those gorgeous melted pockets throughout the cookies. Some people worry marshmallows will burn, but when they're tucked inside the dough, they steam and melt into gooey perfection. For color and fun, I add gel food coloring in pastel shades, transforming simple sugar cookie dough into something celebration-worthy. You can absolutely skip the coloring if you prefer classic cookies, but there's something joyful about vibrant pink, yellow, and blue dough that makes these treats feel extra special.
Assembly and Cooking
Start by choosing your sheet pan wisely. I prefer a heavy-duty aluminum half-sheet pan because it distributes heat evenly and won't warp in the oven. Line it with parchment paper, not just for easy cleanup but because it prevents the bottoms from over-browning and makes transferring cookies a breeze.
In your mixing bowl, cream the room-temperature butter with both sugars until it's light and fluffy, this takes about three minutes with an electric mixer. Scrape down the sides, then beat in your eggs one at a time, followed by the vanilla. This is when you divide your dough if you're making multiple colors. I usually split mine into three portions and tint each one a different pastel shade with gel food coloring.
Next comes the dry ingredients. Whisk your flour, baking powder, and salt together in a separate bowl, then add it to your creamed mixture in two additions. Mix just until combined, those last few streaks of flour should disappear with a gentle fold using a spatula. This is the point where you fold in your chopped marshmallow pieces, distributing them throughout the dough.
Now for the strategic part: portioning and spacing. I use a cookie scoop to ensure every cookie is exactly the same size, about two tablespoons of dough each. On a standard half-sheet pan, I can fit twelve cookies comfortably with about two inches between them. They'll spread as they bake, and you want them to have room to do their thing without merging into one giant cookie blob.
Bake at 350°F for exactly eleven to thirteen minutes. You're looking for edges that are just set and beginning to turn golden while the centers still look slightly underbaked. They'll continue cooking on the hot pan after you remove them from the oven, finishing with that perfect chewy texture. Let them cool on the pan for five minutes before transferring to a wire rack, this cooling time is crucial for setting the structure.
Secrets for One-Pan Success
The number one mistake people make with sheet pan cookies is overcrowding. I know it's tempting to fit just one more cookie on there, but resist. Those two inches of space between cookies aren't a suggestion, they're essential for proper air circulation and even baking. Cramped cookies steam instead of bake, leaving you with pale, doughy results.
Another game-changer is rotating your pan halfway through baking. Even the best ovens have hot spots, and a simple 180-degree turn ensures every cookie gets equal exposure to those zones. Set a timer for six minutes, spin the pan, then finish baking. This thirty-second action transforms an uneven batch into perfection.
Don't skip the parchment paper or silicone baking mat. Yes, you can bake directly on the pan, but your cleanup goes from quick rinse to serious scrubbing. More importantly, these liners create a barrier that prevents over-browning on the bottom while the tops finish cooking. It's the secret to cookies that are golden all over instead of burnt underneath.
Here's something most recipes won't tell you: let your dough rest in the refrigerator for at least thirty minutes before baking. Chilled dough spreads less in the oven, giving you thicker cookies with better texture. It also allows the flour to fully hydrate, creating a more cohesive dough that bakes more evenly.
Finally, embrace the art of visual cues over strict timing. Your oven might run hot or cool compared to mine. Watch for those golden edges and slightly puffed centers rather than blindly following the clock. When the edges look set but the middle still appears soft and a tiny bit underdone, that's your moment to pull them out. Trust your eyes and you'll never overbake again.
Rounding Out the Meal
While these marshmallow stuffed cookies are certainly dessert, turning them into part of a complete gathering spread takes just a bit of planning. I love setting out a simple vanilla yogurt dip sweetened with honey and a splash of vanilla, it cuts through the sweetness of the cookies and adds a tangy contrast that guests always appreciate.
Fresh fruit is your best friend here. A platter of sliced strawberries, melon cubes, and grapes provides color and freshness that balances the richness of the cookies. The natural sugars in fruit feel lighter and more refreshing, making people more likely to come back for seconds of everything.
For beverages, I keep it simple with cold milk in glass bottles, hot tea, and maybe a pitcher of lemonade. These marshmallow stuffed cookies pair beautifully with something to drink, and offering variety means everyone finds their perfect combination. The cookies themselves are the star, everything else is just supporting the main attraction.
If you're serving these at a gathering, consider setting up a little DIY station where people can add their own toppings. Small bowls of colorful sprinkles, mini chocolate chips, or shredded coconut let guests customize their cookies and creates an interactive element that's especially fun for children.
Leftovers and Next-Day Ideas
These marshmallow stuffed cookies store beautifully in an airtight container at room temperature for up to five days. The key is making sure they're completely cooled before sealing them up, any residual warmth creates condensation that leads to soggy cookies. I layer them between sheets of parchment paper to prevent sticking.
If your cookies lose a bit of their softness after a day or two, here's a trick: add a slice of bread to your storage container. The cookies will absorb moisture from the bread, softening back up within a few hours. Replace the bread slice daily and your cookies stay bakery-fresh.
For longer storage, these cookies freeze exceptionally well. Wrap them individually in plastic wrap, then place them all in a freezer bag. They'll keep for up to three months. Thaw at room temperature for about twenty minutes, or warm them in a 300°F oven for five minutes to recreate that fresh-baked experience.
Next-day creativity can transform these cookies into something entirely new. Crumble them over ice cream for an instant sundae with texture and flavor. Sandwich two cookies with a smear of cream cheese frosting for an elevated treat. Or pulse them in a food processor to create a colorful cookie crust for cheesecake. The marshmallow pieces add pockets of sweetness that work beautifully in all these applications.
Answers to Your Questions
What's the best pan to use for these marshmallow stuffed cookies?
A heavy-duty aluminum half-sheet pan measuring 13x18 inches is ideal. The thick aluminum distributes heat evenly and won't warp under high temperatures. Avoid dark-colored pans because they absorb more heat and can over-brown your cookie bottoms before the tops are done.
Can I swap in different mix-ins based on what I have?
Absolutely! While marshmallows are the signature element of these cookies, you can add chocolate chips, chopped nuts, or dried fruit alongside them. Just keep the total amount of mix-ins to about one cup per batch so the dough maintains its structure. The marshmallows can even be replaced entirely with white chocolate chips for a different flavor profile.
How do I get crispy edges while keeping the centers soft?
The secret is baking at the right temperature and pulling them out at the perfect moment. Bake at 350°F and remove the cookies when the edges are golden but the centers still look slightly underdone. They'll finish cooking on the residual heat of the pan, creating that ideal contrast between crispy edges and chewy centers.
Can I double the recipe and bake it all on one giant pan?
I don't recommend it. Doubling the recipe is fine, but you'll need two sheet pans baked in succession or on separate oven racks. Overcrowding onto one massive pan leads to uneven baking, steaming instead of proper browning, and cookies that merge together into one giant mess. Give each cookie its personal space for best results.
Should I line my pan with foil or parchment?
Parchment paper is superior for these marshmallow stuffed cookies. Foil can cause uneven browning and sometimes reacts with certain ingredients, plus cookies tend to stick to it despite greasing. Parchment creates a non-stick surface, promotes even baking, and makes cleanup absolutely effortless. Silicone baking mats work equally well if that's what you have on hand.
How can I make these cookies more colorful and fun?
Gel food coloring mixed directly into the dough creates vibrant, beautiful colors without adding extra liquid that would affect texture. You can also press a few extra marshmallow pieces and colorful sprinkles onto the tops of each cookie just before baking. They'll melt and toast slightly, creating an eye-catching finish that makes these marshmallow stuffed cookies look professionally decorated with minimal effort.
Marshmallow Stuffed Cookies
Soft, colorful cookies filled with gooey marshmallow pieces that bake to perfection on a single sheet pan. Perfect for family gatherings and celebrations.
Prep Time
20 min
Cook Time
13 min
Total Time
33 min
Servings
24 cookies
Ingredients
For 24 cookies
- 1 cup unsalted butter, at room temperature
- 3/4 cup granulated sugar
- 1/4 cup packed light brown sugar
- 2 large eggs, at room temperature
- 2 teaspoons vanilla extract
- 2 3/4 cups all-purpose flour
- 1 teaspoon baking powder
- 1/2 teaspoon salt
- 2 cups large marshmallows, cut into small pieces
- Gel food coloring in assorted colors (optional)
- 1/4 cup colorful sprinkles (optional)
Instructions
- 1
Prepare baking setup
Preheat your oven to 350°F. Line a heavy-duty half-sheet baking pan with parchment paper and set aside. This ensures even baking and easy cleanup.
- 2
Cream butter and sugars
In a large mixing bowl, beat the room-temperature butter with granulated sugar and brown sugar using an electric mixer on medium-high speed for 3 minutes. The mixture should become light, fluffy, and pale in color. Scrape down the sides of the bowl as needed.
- 3
Add eggs and vanilla
Add the eggs one at a time, beating well after each addition. Mix in the vanilla extract until fully combined. The mixture should look smooth and creamy at this stage.
- 4
Divide and color dough
If using food coloring, divide the wet mixture into separate bowls (2-3 portions) and add a small amount of gel food coloring to each. Mix until the color is evenly distributed throughout each portion. Skip this step if you prefer uncolored cookies.
- 5
Combine dry ingredients
In a separate bowl, whisk together the flour, baking powder, and salt until well combined. This ensures even distribution of the leavening agent throughout your cookies.
- 6
Mix dough together
Add the dry ingredients to your wet mixture in two additions, mixing on low speed just until the flour disappears. Do not overmix or your cookies will become tough. If you divided the dough for coloring, add dry ingredients proportionally to each bowl.
- 7
Fold in marshmallows
Gently fold the chopped marshmallow pieces into the dough using a spatula, distributing them evenly throughout. The marshmallows will create pockets of gooey sweetness as they bake.
- 8
Chill the dough
Cover the dough and refrigerate for at least 30 minutes. This prevents excessive spreading during baking and creates a better texture. Chilled dough also makes portioning easier.
- 9
Portion cookie dough
Using a cookie scoop or tablespoon, portion out dough balls of about 2 tablespoons each. Place them on your prepared baking sheet, spacing them 2 inches apart. You should fit about 12 cookies per pan. If desired, press a few extra marshmallow pieces and sprinkles onto the tops.
- 10
Bake the cookies
Bake for 11-13 minutes, rotating the pan 180 degrees at the halfway point for even baking. The cookies are done when the edges are set and just beginning to turn golden while the centers still look slightly soft.
- 11
Cool on pan
Remove the pan from the oven and let the cookies cool on the baking sheet for 5 minutes. This allows them to set properly without breaking apart when moved.
- 12
Transfer and serve
Transfer the cookies to a wire cooling rack to cool completely. The marshmallow centers will be very hot initially, so allow at least 10 minutes of cooling before serving. Store cooled cookies in an airtight container for up to 5 days.
Nutrition Facts
Per serving (estimated)
185 calories
Calories
26g
Carbs
2g
Protein
8g
Fat
0.5g
Fiber
85mg
Sodium
14g
Sugar


